Category: Home Theater

  • New D-I-Y A/V Component Rack

    Completed and populated flexy rackFor quite some time, I’ve been wanting to build a new rack for my A/V components in the home theater. I’ve got a three-year-old photo that claims that the white wire laundry shelf I was using was “very temporary”.

    After years of waiting for the proper inspiration to hit (read: “procrastination”), it finally did hit in the form of the “Flexy Rack”. I’m surprised it took me so long to come across this style of home-made racks, because once I knew what to look for, it turns out they’re super-popular. A Google search on “flexy rack” reveals that there are thousands of web pages about them. The original seems to be The TNT FleXy Table. Please note that “flexy” doesn’t mean that it twists or sways from side to side, but that the design is flexible in that it’s easy to change shelf spacing.

    Flexy-Rack-SketchUpOnce I decided on this style, I started by drawing up simple diagrams on graph paper to make sure my equipment would fit. Next, I used a 2D drawing program to refine my dimensions further. Then I discovered Google’s free 3D drawing program “Sketchup“. It was fairly easy to learn, and soon I had created a design I liked. (Soon is a relative term. The reality is that I might have spent more time creating the 3D drawing than I spent on actual construction. If there’s any interest, I can post the Sketchup file.)

    A close-up of some of the partsAt this point, I was ready to purchase materials. I elected to go with MDF panels because MDF is cheap, sturdy, and easy to work with. I went with 5/8″ all-thread rods. My length choices were either 3-foot or 6-foot. I wanted 4-foot. Instead of cutting 6-footers to size, I went with 3-footers and 1-footers, held together by couplers and extra nuts to lock them in place. I thought this extra hardware actually added to the overall “industrial” look. I originally bought casters that were too small, eventually returning them and getting a set of 2″ swivel casters. The full parts and price list appears below. Bottom line: I built this nice solid rack for under $150.

    Now it was time to cut the MDF panels to the correct shelf sizes. I don’t have a table saw, but I have a decent saw guide that I bought for my still-on-hold arcade cabinet project. I got good straight cuts that were easy to round over with the router. I used clamps and a wood-boring bit for drilling the holes.

    Another view of the saw guide A roundover router bit was used on three edges Shelves drilled and routed

    It had been raining for several days and was extremely humid when I was ready to paint the shelves, so I ended up painting in the dining room over a plastic tarp. I used one coat of Kilz primer, and two coats of black semi-gloss paint. Michelle complained of headaches from the fumes, and they were bad: At one point I couldn’t remember my A-B-C’s.

    Putting a coat of Kilz primer on the shelves First coat of semi-gloss black paint First coat of black complete

    After the paint dried, I used a counter-sink bit to drill the holes for installing the swivel casters. (Man I wish I had drilled these holes before painting!) Once this was complete, I was ready to start putting it all together. I don’t know how many revolutions it required to spin all 56 hex nuts into the correct positions on the all-thread rods, but my fingers sure got a workout. The pattern of nut-washer-shelf-washer-nut became second-nature after a while.

    Drilling counter-sink holes for the caster bolts Casters and the 1-foot all-thread pieces Leveling a shelf

    After leveling all the shelves (with a couple of nut-turns: this shelf is flexible, Man!), and tightening everything down, it was time to install the A/V equipment and call this project done. Here’s a comparison of the Sketchup rendering and the real deal, and a comparison of the old wire rack and the newly completed and populated flexy-rack.

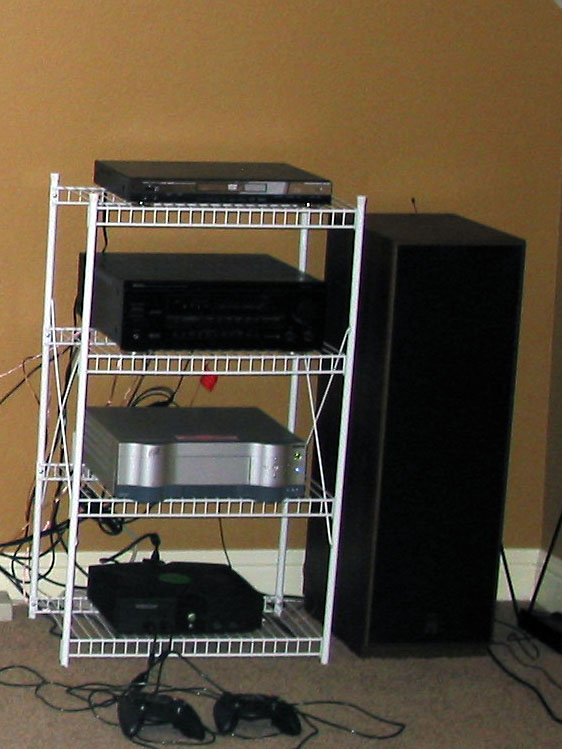
    Flexy-Rack-SketchUp Completed flexy-rack Old_wire_rack Completed and populated flexy rack

    Funny that I just noticed that every piece of equipment except the Dish 921 PVR has been updated since the wire-rack photo was taken.

    Full photo gallery here.

    Things I would have done differently:

    • Used a drill press to line up all holes perfectly. During final assembly, it became evident that my hand drilling had resulted in holes that were at a slight angle. This made it difficult to line up the top two shelves with the rods.
    • Skipped the primer or tinted it dark. Any chip of the black paint results in the white primer showing through.
    • Drilled the counter-sink holes before painting. Doing this after painting meant that it was harder to do a clean job, and then I had to touch it up afterwards.

    Full parts list (from Home Depot, Lowes, Ace Hardware):

    Count Item Cost
    2 3/4″ x 24″ x 49″ MDF Panels $17.78
    4 5/8″ by 3 foot All-Thread Rod $27.76
    4 5/8″ by 1 foot All-Thread Rod $9.12
    4 5/8″ Coupling Nut $11.48
    50 Hex Nuts $12.50
    6 More Hex Nuts $1.50
    50 Flat Washers $13.00
    1 Quart of Kilz Primer $5.48
    1 Quart of Black Semi-gloss $7.87
    4 2″ Swivel Casters $10.00
    16 Machine Head Bolts $2.56
    16 Nuts $2.72
    16 Lock Washers $2.40
      Tax $9.74
      Total $133.91
  • Outdoor Movie Night

    Projector in tractor bucketLast night, the neighborhood got together for the first ever Skinner Road Outdoor Movie Night. My across-the-street neighbors had been helping their boys build an elevated fort, so we already had a 10-foot tall platform to hang a screen from. Another neighbor’s dad works in a fabric facility and was able to rig us up a 16-foot wide screen for cheap. We mounted my projector on a raised tractor bucket and set 2 of my old huge “college days” speakers up in front, and another neighbor’s speakers behind us for surround sound (no subwoofer, no center channel). I still hadn’t installed my old Denon A/V receiver downstairs, so it was available for amplification duties. A small DVD player completed the setup.

    People tail gatingWe had a real good turnout, though some might not have thought too highly of our movie choices: Dumb & Dumber, and The Waterboy. Unfortunately, I didn’t think of getting photos of the setup until after it was already dark, and what I did get all turned out terrible.

    The crowd had a great time, and we agreed that we’ll do it again when the weather cools off.

  • New Denon AVR-887

    Our new A/V receiver: The Denon AVR-887.Our new A/V receiver: The Denon AVR-887. It has HDMI switching for future use, but more importantly for now, it has high-def component switching and lots of digital audio inputs. This allowed me to get rid of 2 manual switches that my setup previously required.

  • Replaced the Projector Bulb

    After 2878 hours of use, I have finally replaced my projector bulb. I had been dreading the ~$300 cost, but also looking forward to the improvement in brightness. And what an improvement it is! I knew that the picture was dimmer, but it was impossible to guess just how much dimmer it was. I’m happy to report that the “Wow” factor is back. The image is so bright now that I’m reminded that I need to paint the walls and ceilings a darker color.

    Projector ceiling mount with projector removed.

    A bonus is that since I had the projector down to install the new bulb, I took the opportunity to get a good photo of the ceiling mount. In this picture, you can get a better idea of how the thing works. You can clearly see how the flange attaches to the plexiglass, and you can see the 3 holes where the projector gets bolted to the plexiglass.

  • Built Ceiling Mount for Projector

    Michelle insisted I get the projector off of the shelf it was on before we had dozens of people going in and out of the home theater room for my birthday party, so on the night before the party, with the help of my neighbor Leigh, I got the ceiling mount done.

    The parts used to make the ceiling mountThere is a plexiglass plate I cut out in the shape of the projector, and it has three holes drilled in it to match the three mounting holes on the projector. The connecting 5mm bolts are long enough that a wingnut fits above the plexiglass (but below the bolt head) and can be used to raise and lower the projector at that point (See closeup here). With these three adjustment points, I can raise and lower the front, and either side, meaning I can perfectly align the projected image to the screen.

    The plexiglass plate is connected to a sheet of plywood using plumbing fixtures: floor flanges and a pipe. The plywood is bolted securely to the ceiling.

    You can see that there are still a few finishing touches needed, like routing the cabling through the ceiling, painting the plywood, and maybe painting the metal plumbing, but as of now, the mount is perfectly functional, and the projector is out of danger of being tipped over by a kid bumping into a shelf.

    Side view of the completed mount The completed mount after it had been up long enough to get dusty Close up of wingnut adjustment
  • Built the Black Velvet Frame

    Completed_screen_back_up_on_the_wall.jpg (33796 bytes)I had read that a black frame with light-absorbing material would increase the apparent contrast of the projector’s picture. It also makes it easier to get the picture to appear perfectly aligned because any part of the picture that is slightly over onto the black frame will be absorbed and disappear.

    This frame is made of 1x4s and wrapped in black velvet. The velvet frame is attached to the original frame using homemade 1/4″ plywood braces and brass wood screws.

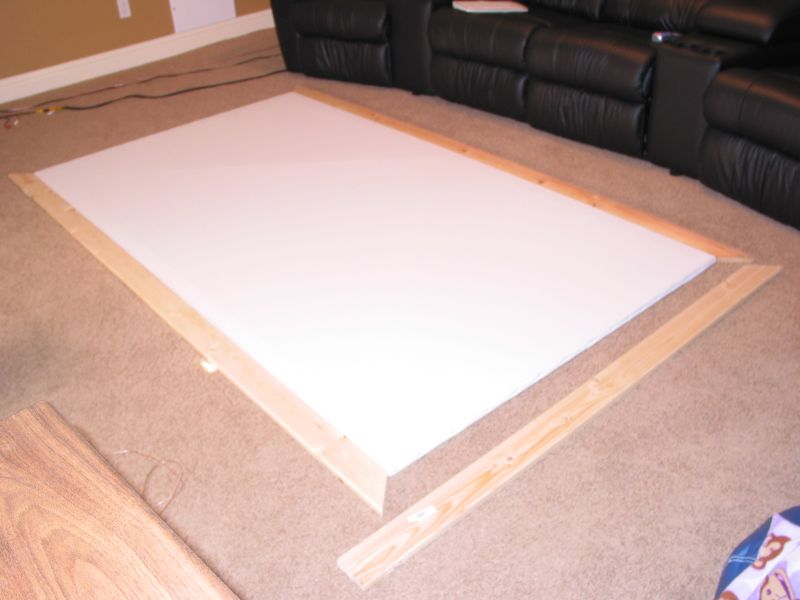
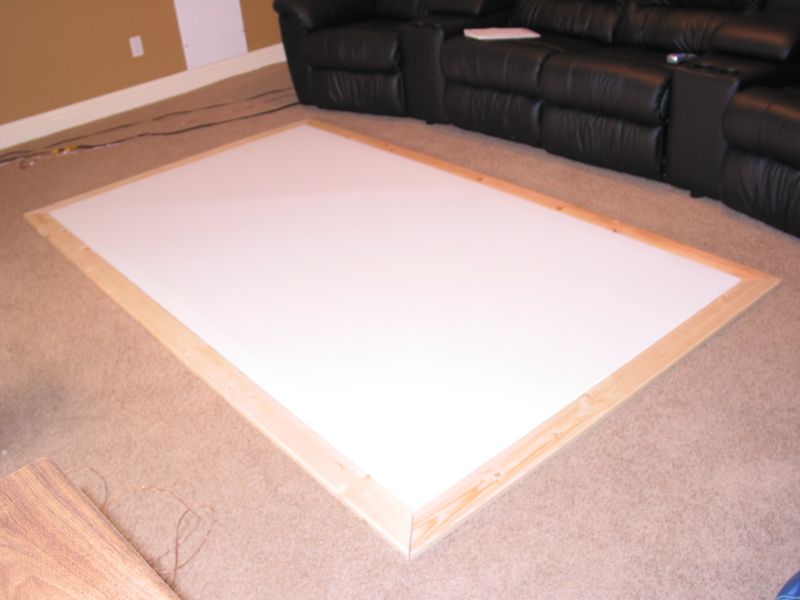
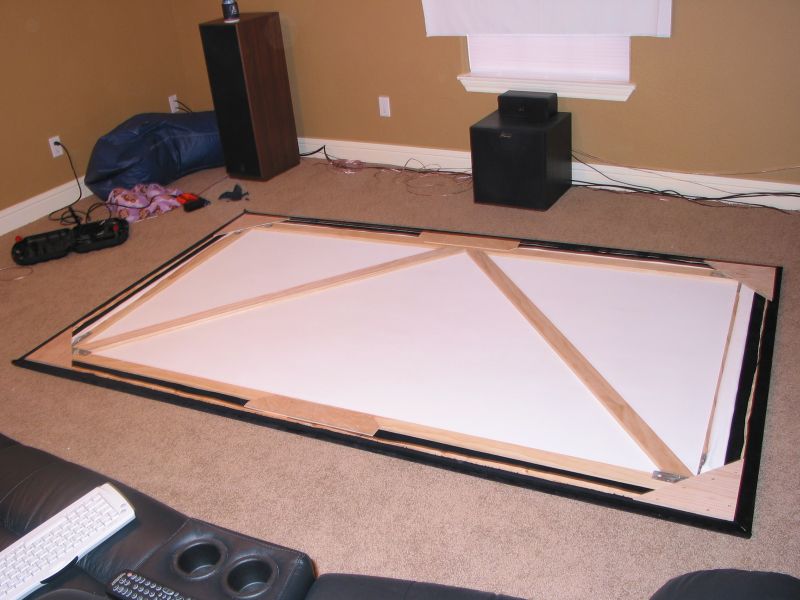
    Building_the_black_velvet_masking_frame.jpg (51548 bytes) Building the black velvet masking frame. It is sized to fit around the existing 96″x54″ screen. I had to measure each board, then carry it downstairs so I could cut it using a miter box.
    The_frame_is_ready_for_the_velvet_to_be_applied.jpg (48929 bytes) The frame is built and ready for the velvet to be applied. The frame pieces aren’t yet connected in any way. I’m just verifying the sizes and angles.
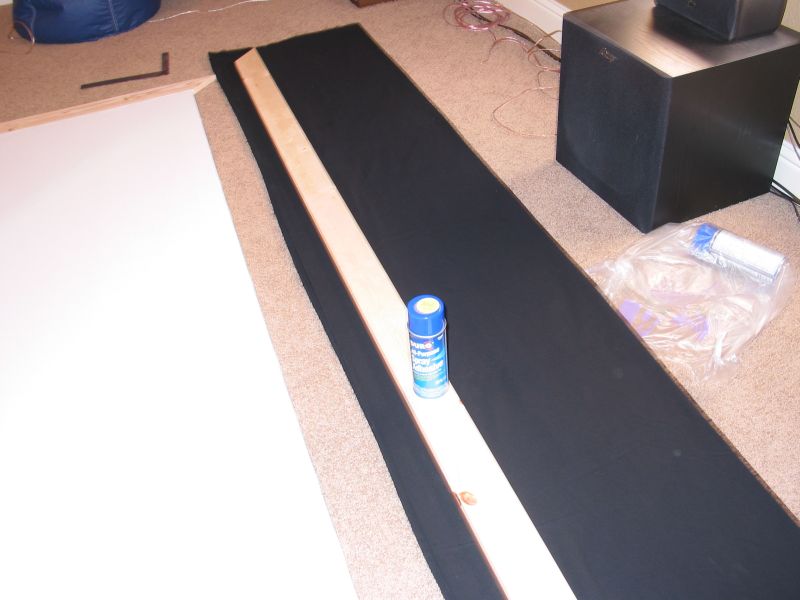
    About_to_wrap_one_of_the_frame_pieces.jpg (53783 bytes) About to wrap one of the frame pieces with black velvet. Spray adhesive was used. This was a bit of a messy job, but it turned out great. Again, an extra set of hands made things much easier.
    Backside_view_of_the_completed_screen.jpg (70574 bytes) Backside view of the completed screen. Black velvet was wrapped around all frame pieces. 1/4 inch plywood was used for corner and edge braces for connecting this frame to the existing screen frame with brass wood screws.
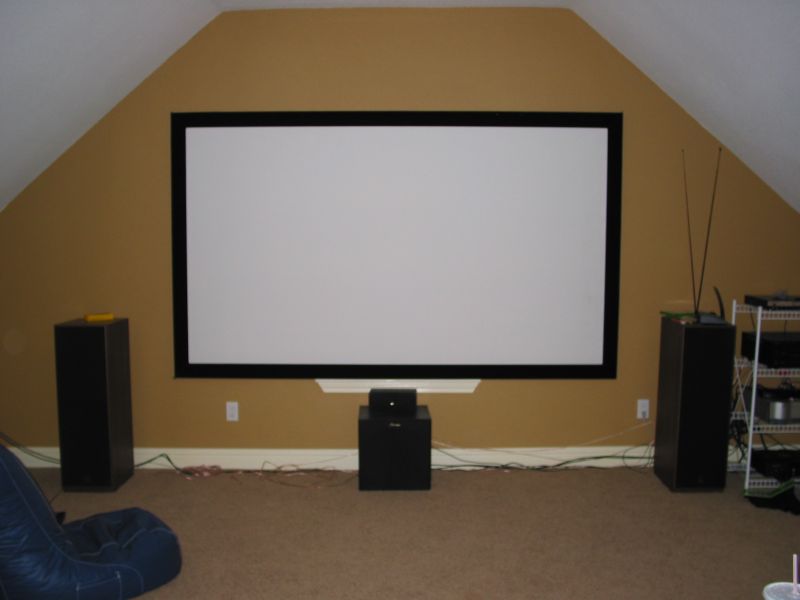
    Completed_screen_back_up_on_the_wall.jpg (33796 bytes) Completed screen back up on the wall. With the black frame, the overall screen is larger and I was able to completely cover the window instead of having to use blackout cloth. I have also rewired and evened up the front speakers. I still need to get some proper component shelving.

    Yes, that is a set of “rabbit ears”. I use them for reception of over-the-air HDTV.

  • Mounted the Surround Speakers

    Mirage-rear-speakers.jpg (67346 bytes)Until now, the rear speakers had been sitting on the floor. Now that they’ve been mounted near the ceiling, the sound is improved tremendously. The wires are still just hanging from the wall and running along the ground. I bought a “snake” for fishing wires through tough-to-reach places, but I haven’t used it yet.

    The drapery over the door has been replaced with something to match the planned future decor.

  • Seating Delivered

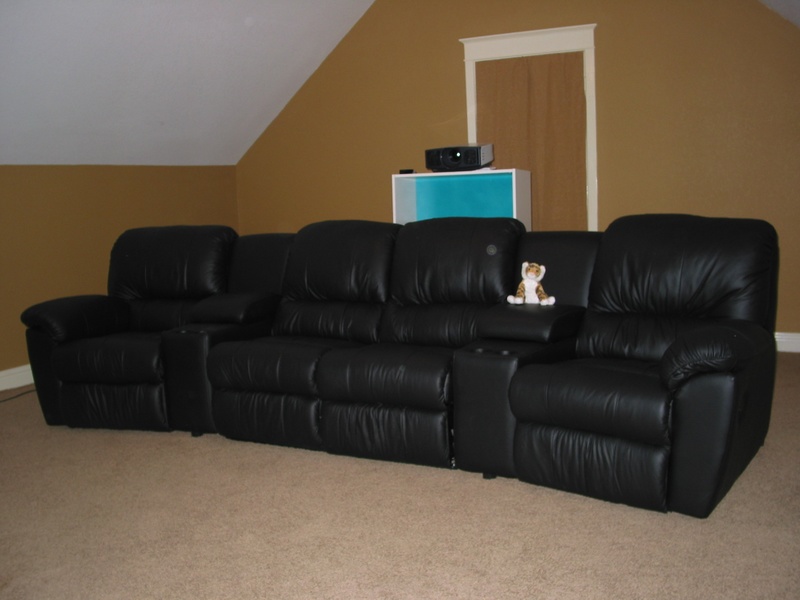
    Palliser-seating.jpg (102422 bytes)We bought a set of Palliser black leather recliners. I had tried these out at a large furniture store several weeks ago and had been impressed with how comfortable they were and how well-made they appeared to be. We came across them again at a Billiards and Barstools store. This “Melrose” series might not have been my first choice, but they happened to be on sale at an irresistible price so we took the plunge and ordered them.

    When they arrived a few days later, the delivery guys were so impressed with the theater room that they wanted a demo. Being young guys, they were most impressed with “MX Unleashed” running at 1080i on the Xbox.

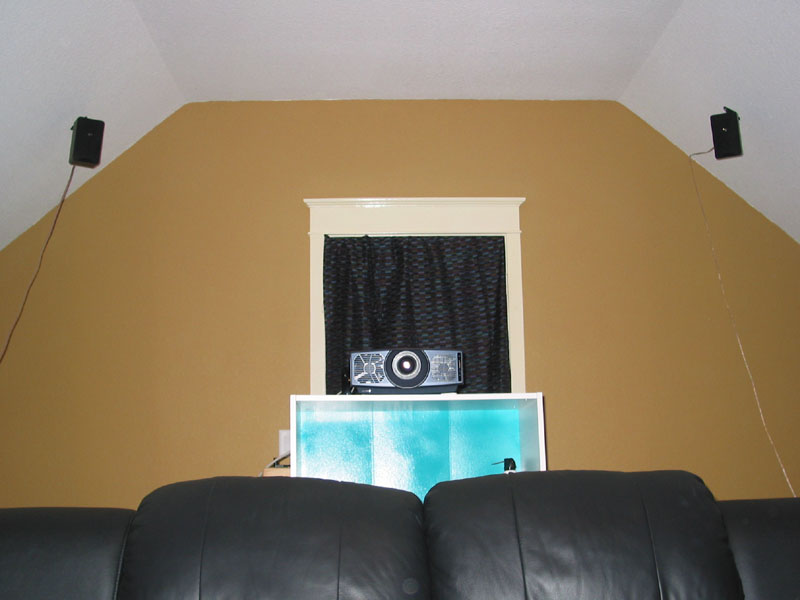
    Previously, the projector was sitting on a cardboard box at just the right height to line up with the bottom of the screen. With these seats in the room, I had to raise the projector up onto a shelf. The height is not correct now, so I have to use the projector’s “keystone correction” to get the picture aligned correctly, otherwise it has a trapezoidal shape (wider at the bottom). This situation is temporary until I can mount the projector on the ceiling. Then it will be upside-down and again aligned properly with the screen and keystone correction can be turned off. I’d like to do this soon, because digital keystone correction degrades the picture. I can’t tell so much for movies or TV, but on the computer screen, it is evident that the fonts aren’t as sharp as they should be.

  • Built the Screen

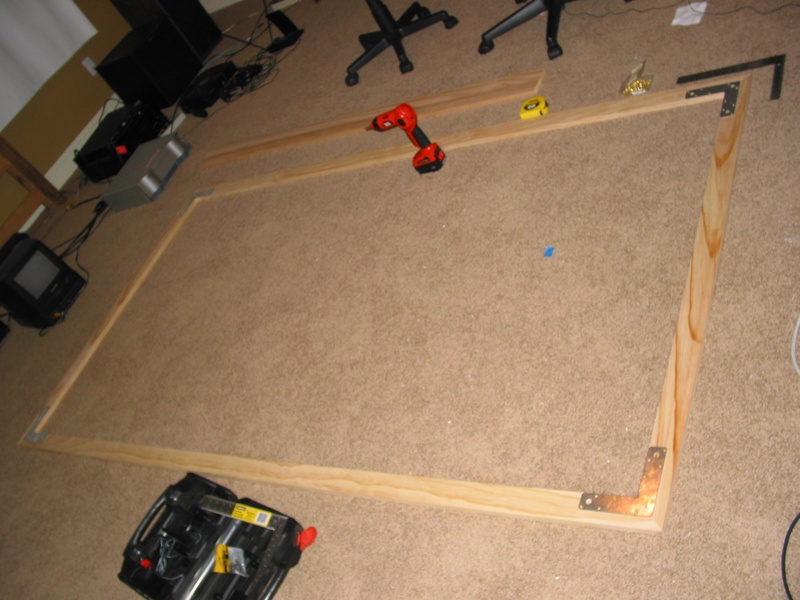
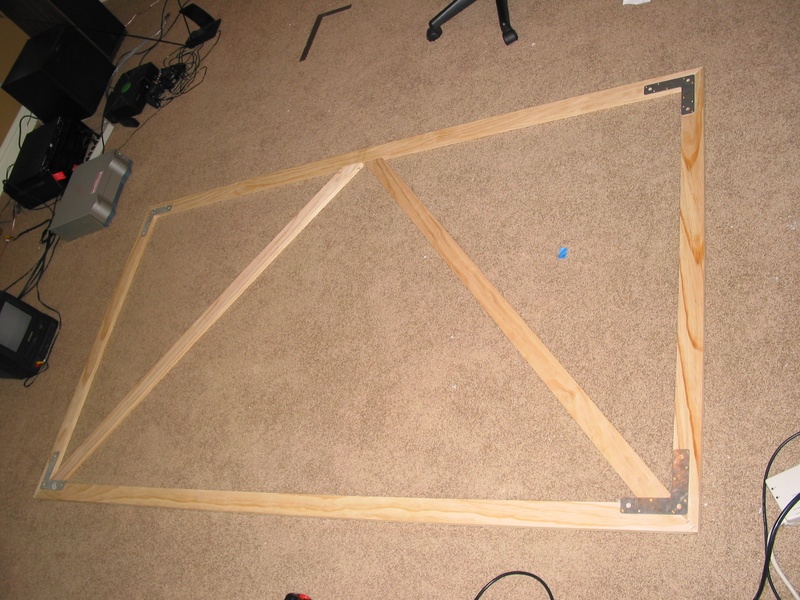
    Phase 1 of the screen was building the wooden frame and stretching the blackout cloth over it. I used 1×3 lumber to keep the frame light. I got the “premium” lumber at Home Depot, but even still I had to pick and choose to get boards that weren’t warped or bowed. I used a miter box to cut the 45 degree angles, then screwed the pieces together with brass wood screws and angle braces. I bought an electric staple gun for stapling the screen material to the frame. Since the cloth was 54″ wide and frame itself was 54″ tall, a bit of stretching was required. An extra set of hands was definitely needed here (Thanks, Michelle!).

    Screen_frame_under_construction._1x3_lumber_was_used_for_the_frame.jpg (150644 bytes) Screen frame under construction. 1×3 lumber was used for the frame.
    Screen_frame_corner_bracket.jpg (254774 bytes) Close up of screen frame corner braces. These were fastened on with brass wood screws.
    Completed_screen_frame.jpg (214781 bytes) Completed screen frame, ready for the cloth to be stretched and stapled on. Sorry there are no photos of the stapling job in progress. We were concentrating too hard to remember to take photos.
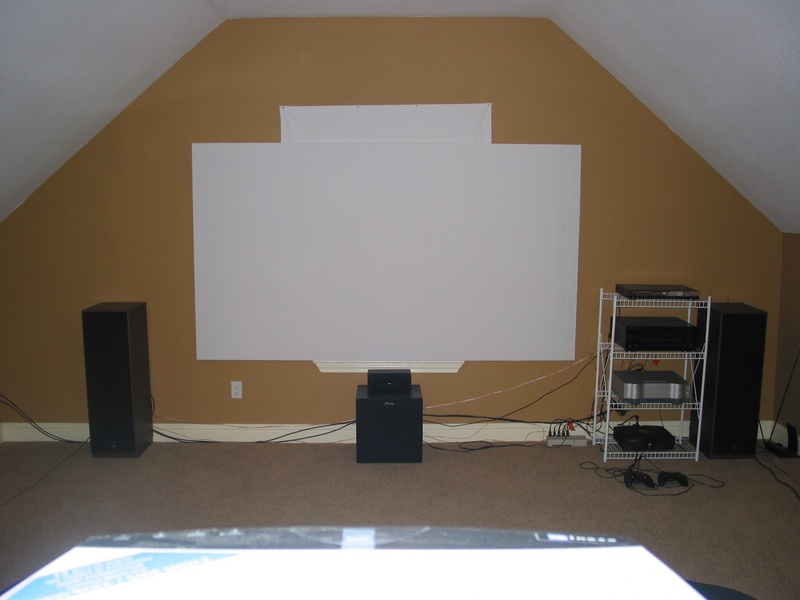
    First_stage_of_the_screen_is_complete.jpg (97531 bytes) Projector’s eye view of the mounted screen. Speakers weren’t spaced properly because I didn’t have long enough speaker wire yet. The wire-frame equipment rack is very temporary. The extra white cloth you see is to black out the window behind the screen.
  • The Projector Arrived

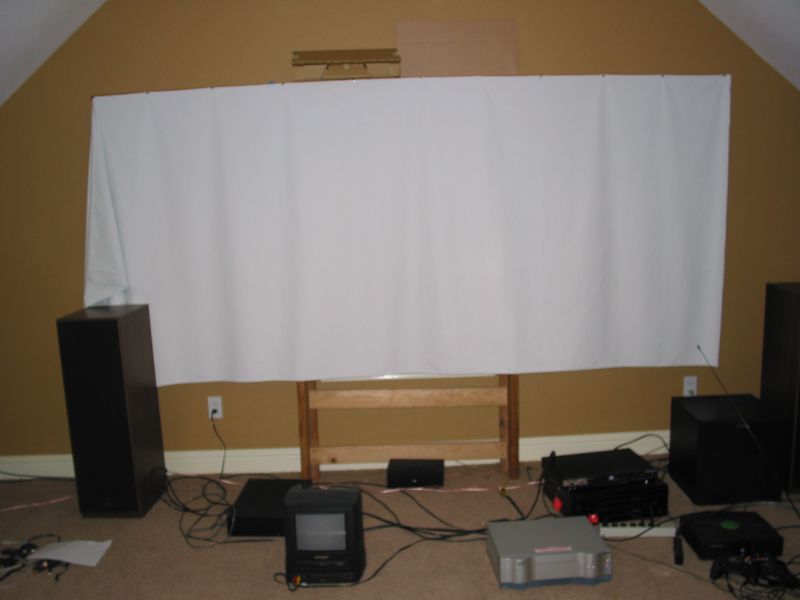
    junky_temp_screen.jpg (34507 bytes)Dying to try out the new projector, I quickly threw together this makeshift screen: blackout cloth thumb-tacked to a 10-foot 1×6 which was balanced on top of an upturned bed frame. Components (A/V receiver, satellite receiver, etc.) are just scattered on the floor. Boy was I was impatient! The projector picture had ripples because of the loose screen material, but it was still the best picture I had ever seen. Gotta build my real screen soon.