
Built the Screen
Phase 1 of the screen was building the wooden frame and stretching the blackout cloth over it. I used 1×3 lumber to keep the frame light. I got the “premium” lumber at Home Depot, but even still I had to pick and choose to get boards that weren’t warped or bowed. I used a miter box to cut the 45 degree angles, then screwed the pieces together with brass wood screws and angle braces. I bought an electric staple gun for stapling the screen material to the frame. Since the cloth was 54″ wide and frame itself was 54″ tall, a bit of stretching was required. An extra set of hands was definitely needed here (Thanks, Michelle!).
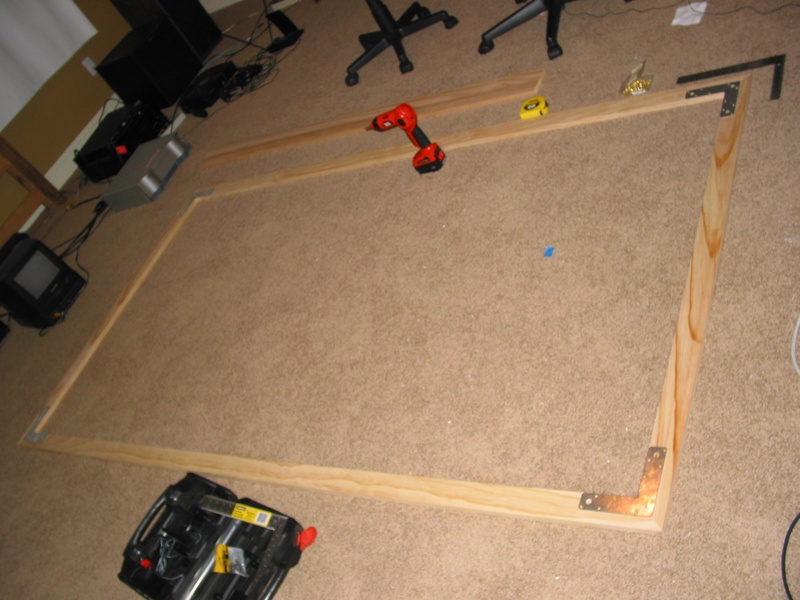 |
Screen frame under construction. 1×3 lumber was used for the frame. |
 |
Close up of screen frame corner braces. These were fastened on with brass wood screws. |
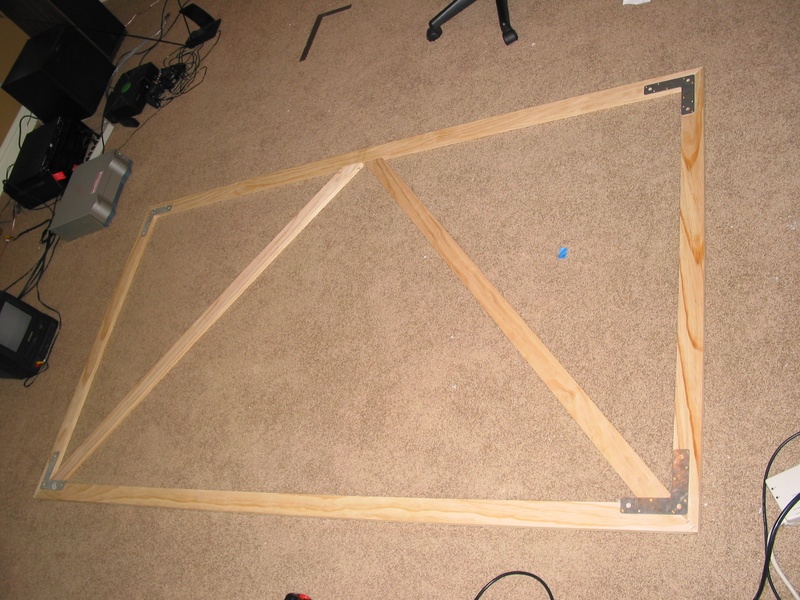 |
Completed screen frame, ready for the cloth to be stretched and stapled on. Sorry there are no photos of the stapling job in progress. We were concentrating too hard to remember to take photos. |
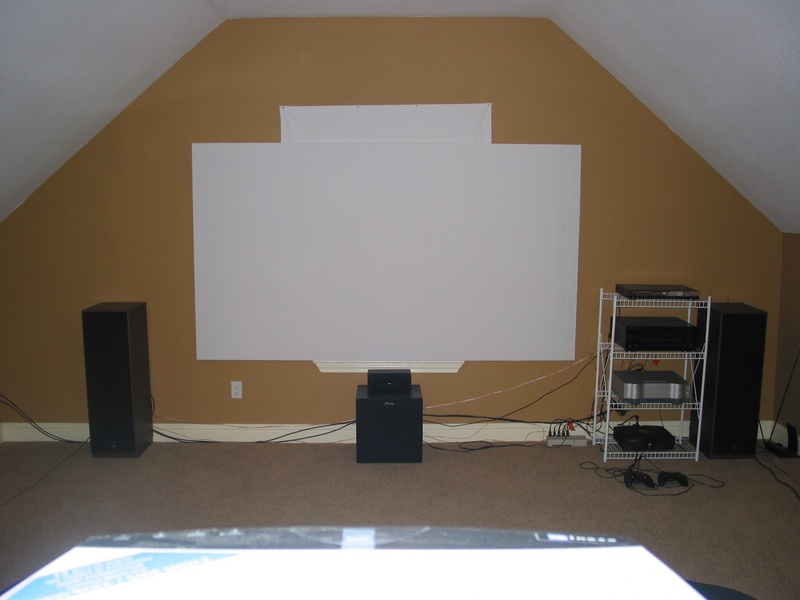 |
Projector’s eye view of the mounted screen. Speakers weren’t spaced properly because I didn’t have long enough speaker wire yet. The wire-frame equipment rack is very temporary. The extra white cloth you see is to black out the window behind the screen. |

Leave a Reply