Month: July 2004   (from newest to oldest)

Built the Black Velvet Frame

Completed_screen_back_up_on_the_wall.jpg (33796 bytes)I had read that a black frame with light-absorbing material would increase the apparent contrast of the projector’s picture. It also makes it easier to get the picture to appear perfectly aligned because any part of the picture that is slightly over onto the black frame will be absorbed and disappear.

This frame is made of 1x4s and wrapped in black velvet. The velvet frame is attached to the original frame using homemade 1/4″ plywood braces and brass wood screws.

Building_the_black_velvet_masking_frame.jpg (51548 bytes) 
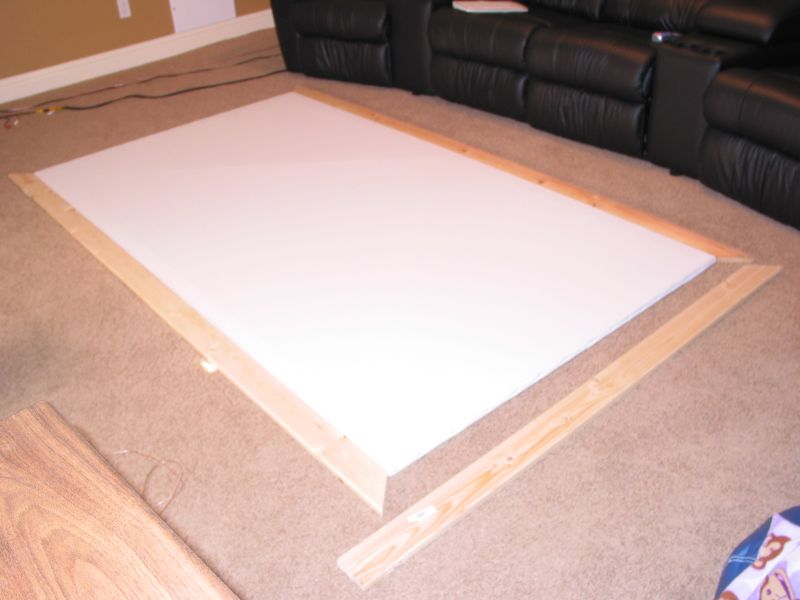
Building the black velvet masking frame. It is sized to fit around the existing 96″x54″ screen. I had to measure each board, then carry it downstairs so I could cut it using a miter box.
The_frame_is_ready_for_the_velvet_to_be_applied.jpg (48929 bytes) 
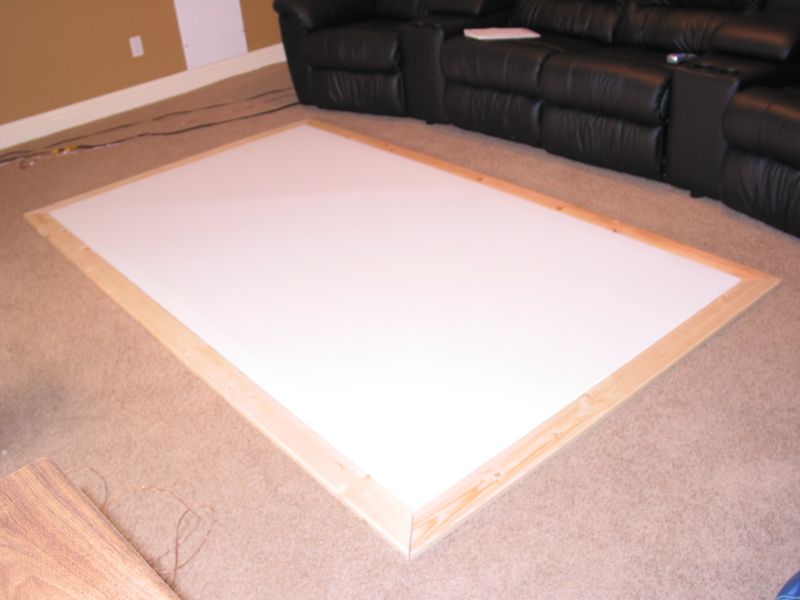
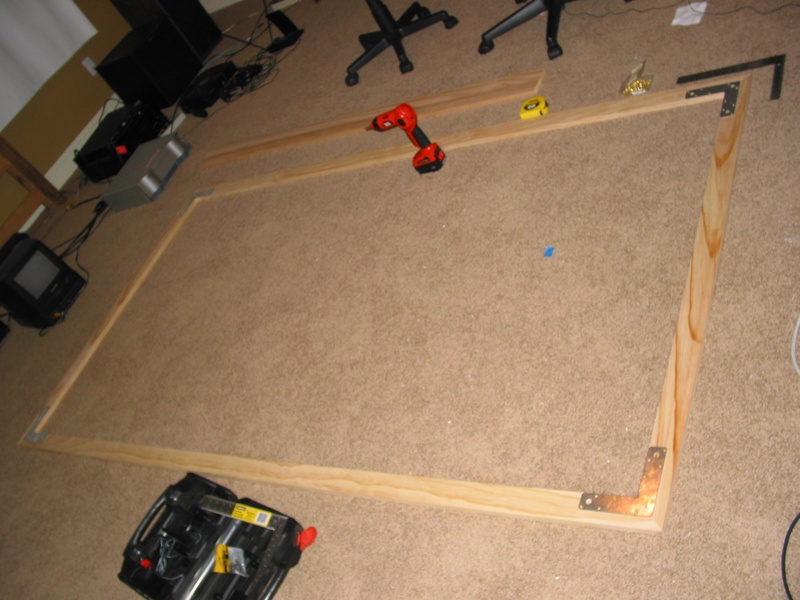
The frame is built and ready for the velvet to be applied. The frame pieces aren’t yet connected in any way. I’m just verifying the sizes and angles.
About_to_wrap_one_of_the_frame_pieces.jpg (53783 bytes) 
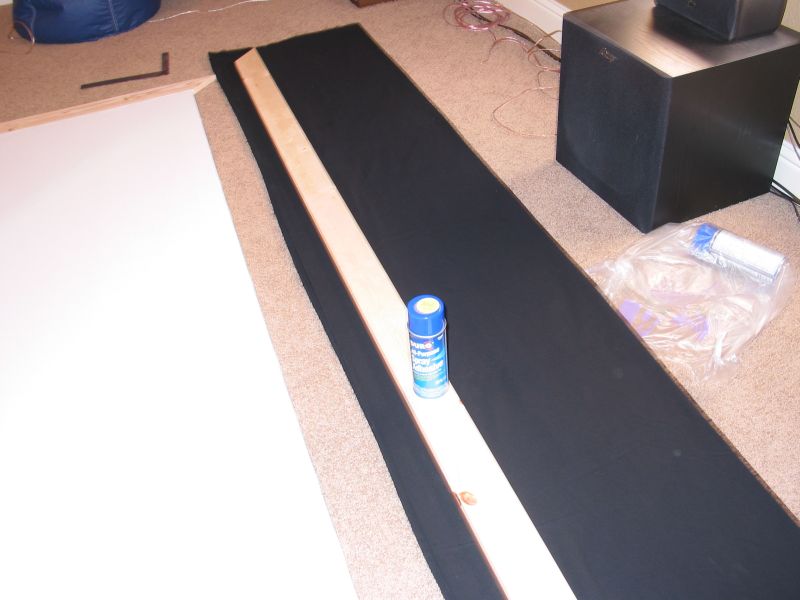
About to wrap one of the frame pieces with black velvet. Spray adhesive was used. This was a bit of a messy job, but it turned out great. Again, an extra set of hands made things much easier.
Backside_view_of_the_completed_screen.jpg (70574 bytes) 
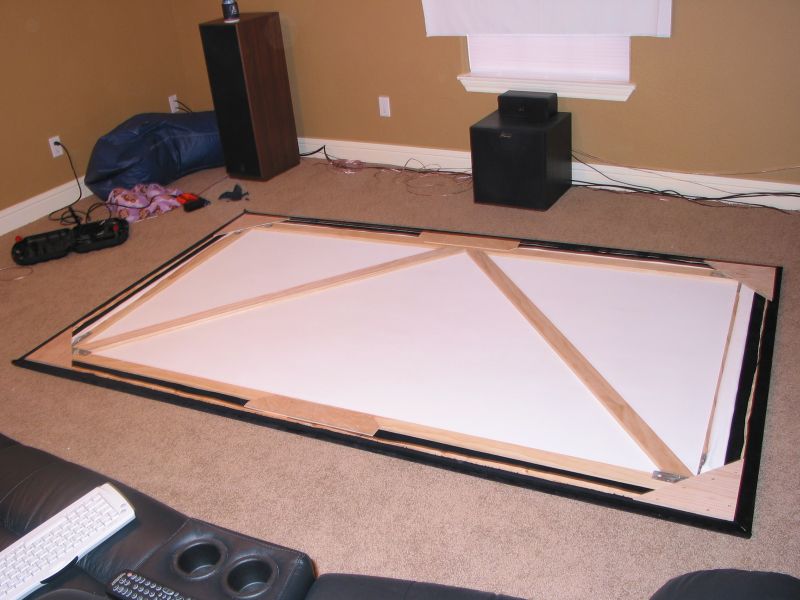
Backside view of the completed screen. Black velvet was wrapped around all frame pieces. 1/4 inch plywood was used for corner and edge braces for connecting this frame to the existing screen frame with brass wood screws.
Completed_screen_back_up_on_the_wall.jpg (33796 bytes) 
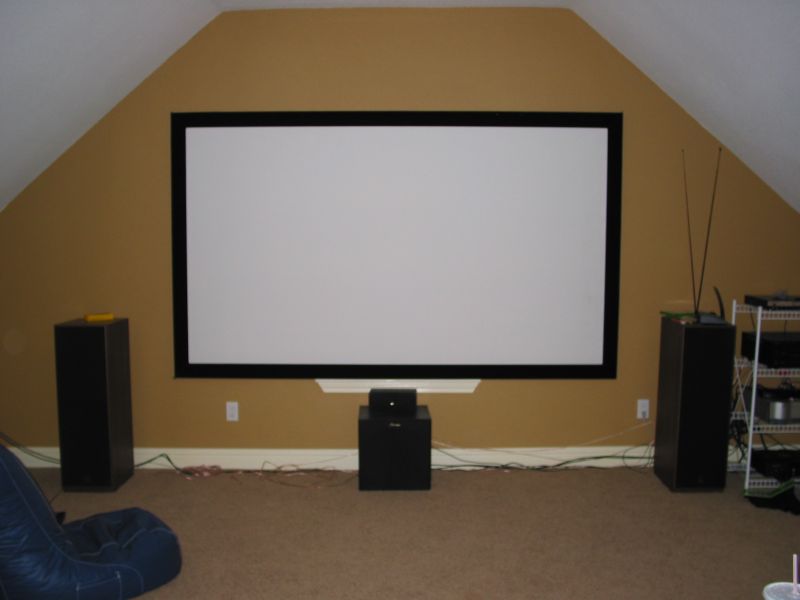
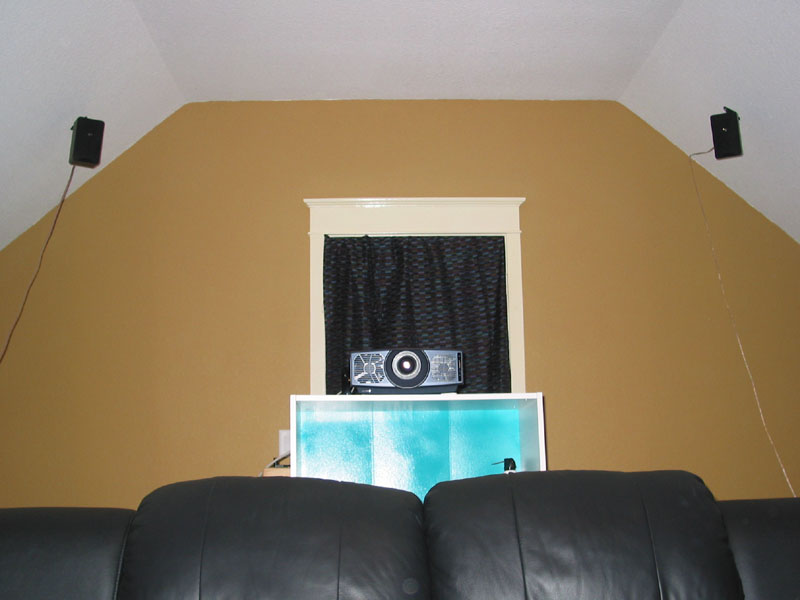
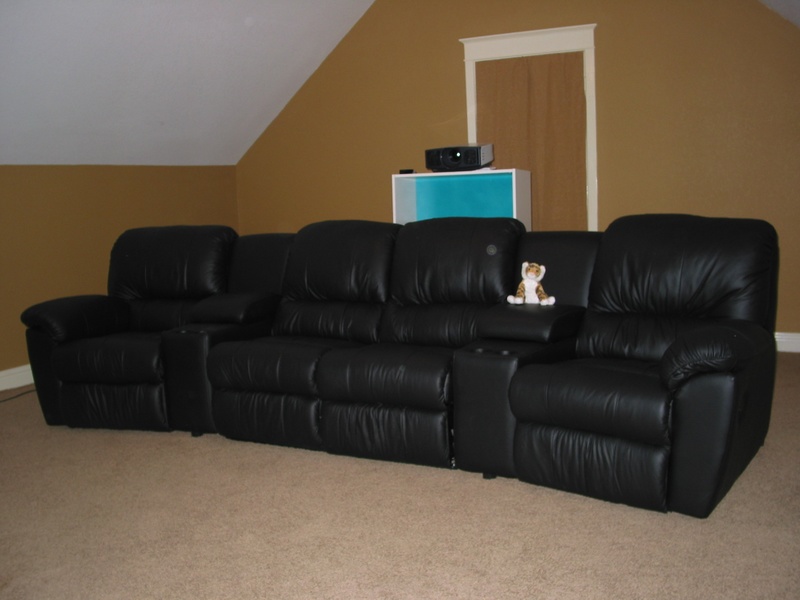
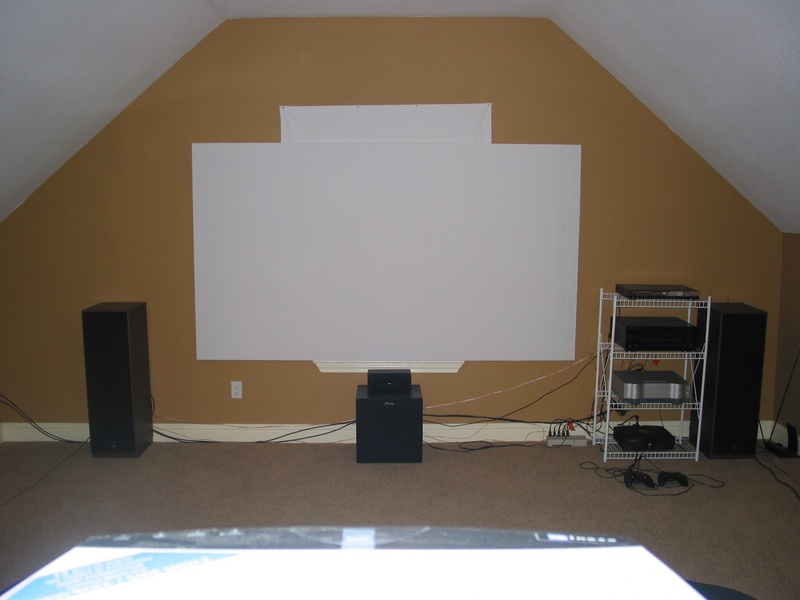
Completed screen back up on the wall. With the black frame, the overall screen is larger and I was able to completely cover the window instead of having to use blackout cloth. I have also rewired and evened up the front speakers. I still need to get some proper component shelving. Yes, that is a set of “rabbit ears”. I use them for reception of over-the-air HDTV.

Mounted the Surround Speakers

Mirage-rear-speakers.jpg (67346 bytes)Until now, the rear speakers had been sitting on the floor. Now that they’ve been mounted near the ceiling, the sound is improved tremendously. The wires are still just hanging from the wall and running along the ground. I bought a “snake” for fishing wires through tough-to-reach places, but I haven’t used it yet.

The drapery over the door has been replaced with something to match the planned future decor.

Seating Delivered

Palliser-seating.jpg (102422 bytes)We bought a set of Palliser black leather recliners. I had tried these out at a large furniture store several weeks ago and had been impressed with how comfortable they were and how well-made they appeared to be. We came across them again at a Billiards and Barstools store. This “Melrose” series might not have been my first choice, but they happened to be on sale at an irresistible price so we took the plunge and ordered them.

When they arrived a few days later, the delivery guys were so impressed with the theater room that they wanted a demo. Being young guys, they were most impressed with “MX Unleashed” running at 1080i on the Xbox.

Previously, the projector was sitting on a cardboard box at just the right height to line up with the bottom of the screen. With these seats in the room, I had to raise the projector up onto a shelf. The height is not correct now, so I have to use the projector’s “keystone correction” to get the picture aligned correctly, otherwise it has a trapezoidal shape (wider at the bottom). This situation is temporary until I can mount the projector on the ceiling. Then it will be upside-down and again aligned properly with the screen and keystone correction can be turned off. I’d like to do this soon, because digital keystone correction degrades the picture. I can’t tell so much for movies or TV, but on the computer screen, it is evident that the fonts aren’t as sharp as they should be.

Built the Screen

Phase 1 of the screen was building the wooden frame and stretching the blackout cloth over it. I used 1×3 lumber to keep the frame light. I got the “premium” lumber at Home Depot, but even still I had to pick and choose to get boards that weren’t warped or bowed. I used a miter box to cut the 45 degree angles, then screwed the pieces together with brass wood screws and angle braces. I bought an electric staple gun for stapling the screen material to the frame. Since the cloth was 54″ wide and frame itself was 54″ tall, a bit of stretching was required. An extra set of hands was definitely needed here (Thanks, Michelle!).

Screen_frame_under_construction._1x3_lumber_was_used_for_the_frame.jpg (150644 bytes) Screen frame under construction. 1×3 lumber was used for the frame.
Screen_frame_corner_bracket.jpg (254774 bytes) Close up of screen frame corner braces. These were fastened on with brass wood screws.
Completed_screen_frame.jpg (214781 bytes) Completed screen frame, ready for the cloth to be stretched and stapled on. Sorry there are no photos of the stapling job in progress. We were concentrating too hard to remember to take photos.
First_stage_of_the_screen_is_complete.jpg (97531 bytes) Projector’s eye view of the mounted screen. Speakers weren’t spaced properly because I didn’t have long enough speaker wire yet. The wire-frame equipment rack is very temporary. The extra white cloth you see is to black out the window behind the screen.

Fireworks in Ellis County

2004-Fireworks.jpg (157388 bytes)For the first time in my Texas life, I was able to shoot off fireworks instead of only watching them. Andrew and I bought a modest bundle (spending around $130) and along with a couple of pals who were over, the whole family had fun setting them off. No photos of the action, but here’s one of our supply before we got started.

Fireworks in Ellis County

2004-Fireworks.jpg (157388 bytes)Fireworks in Ellis County. For the first time in my Texas life, I was able to shoot off fireworks instead of only watching them. Andrew and I bought a modest bundle (spending around $130) and along with a couple of pals who were over, the whole family had fun setting them off. No photos of the action, but here’s one of our supply before we got started.