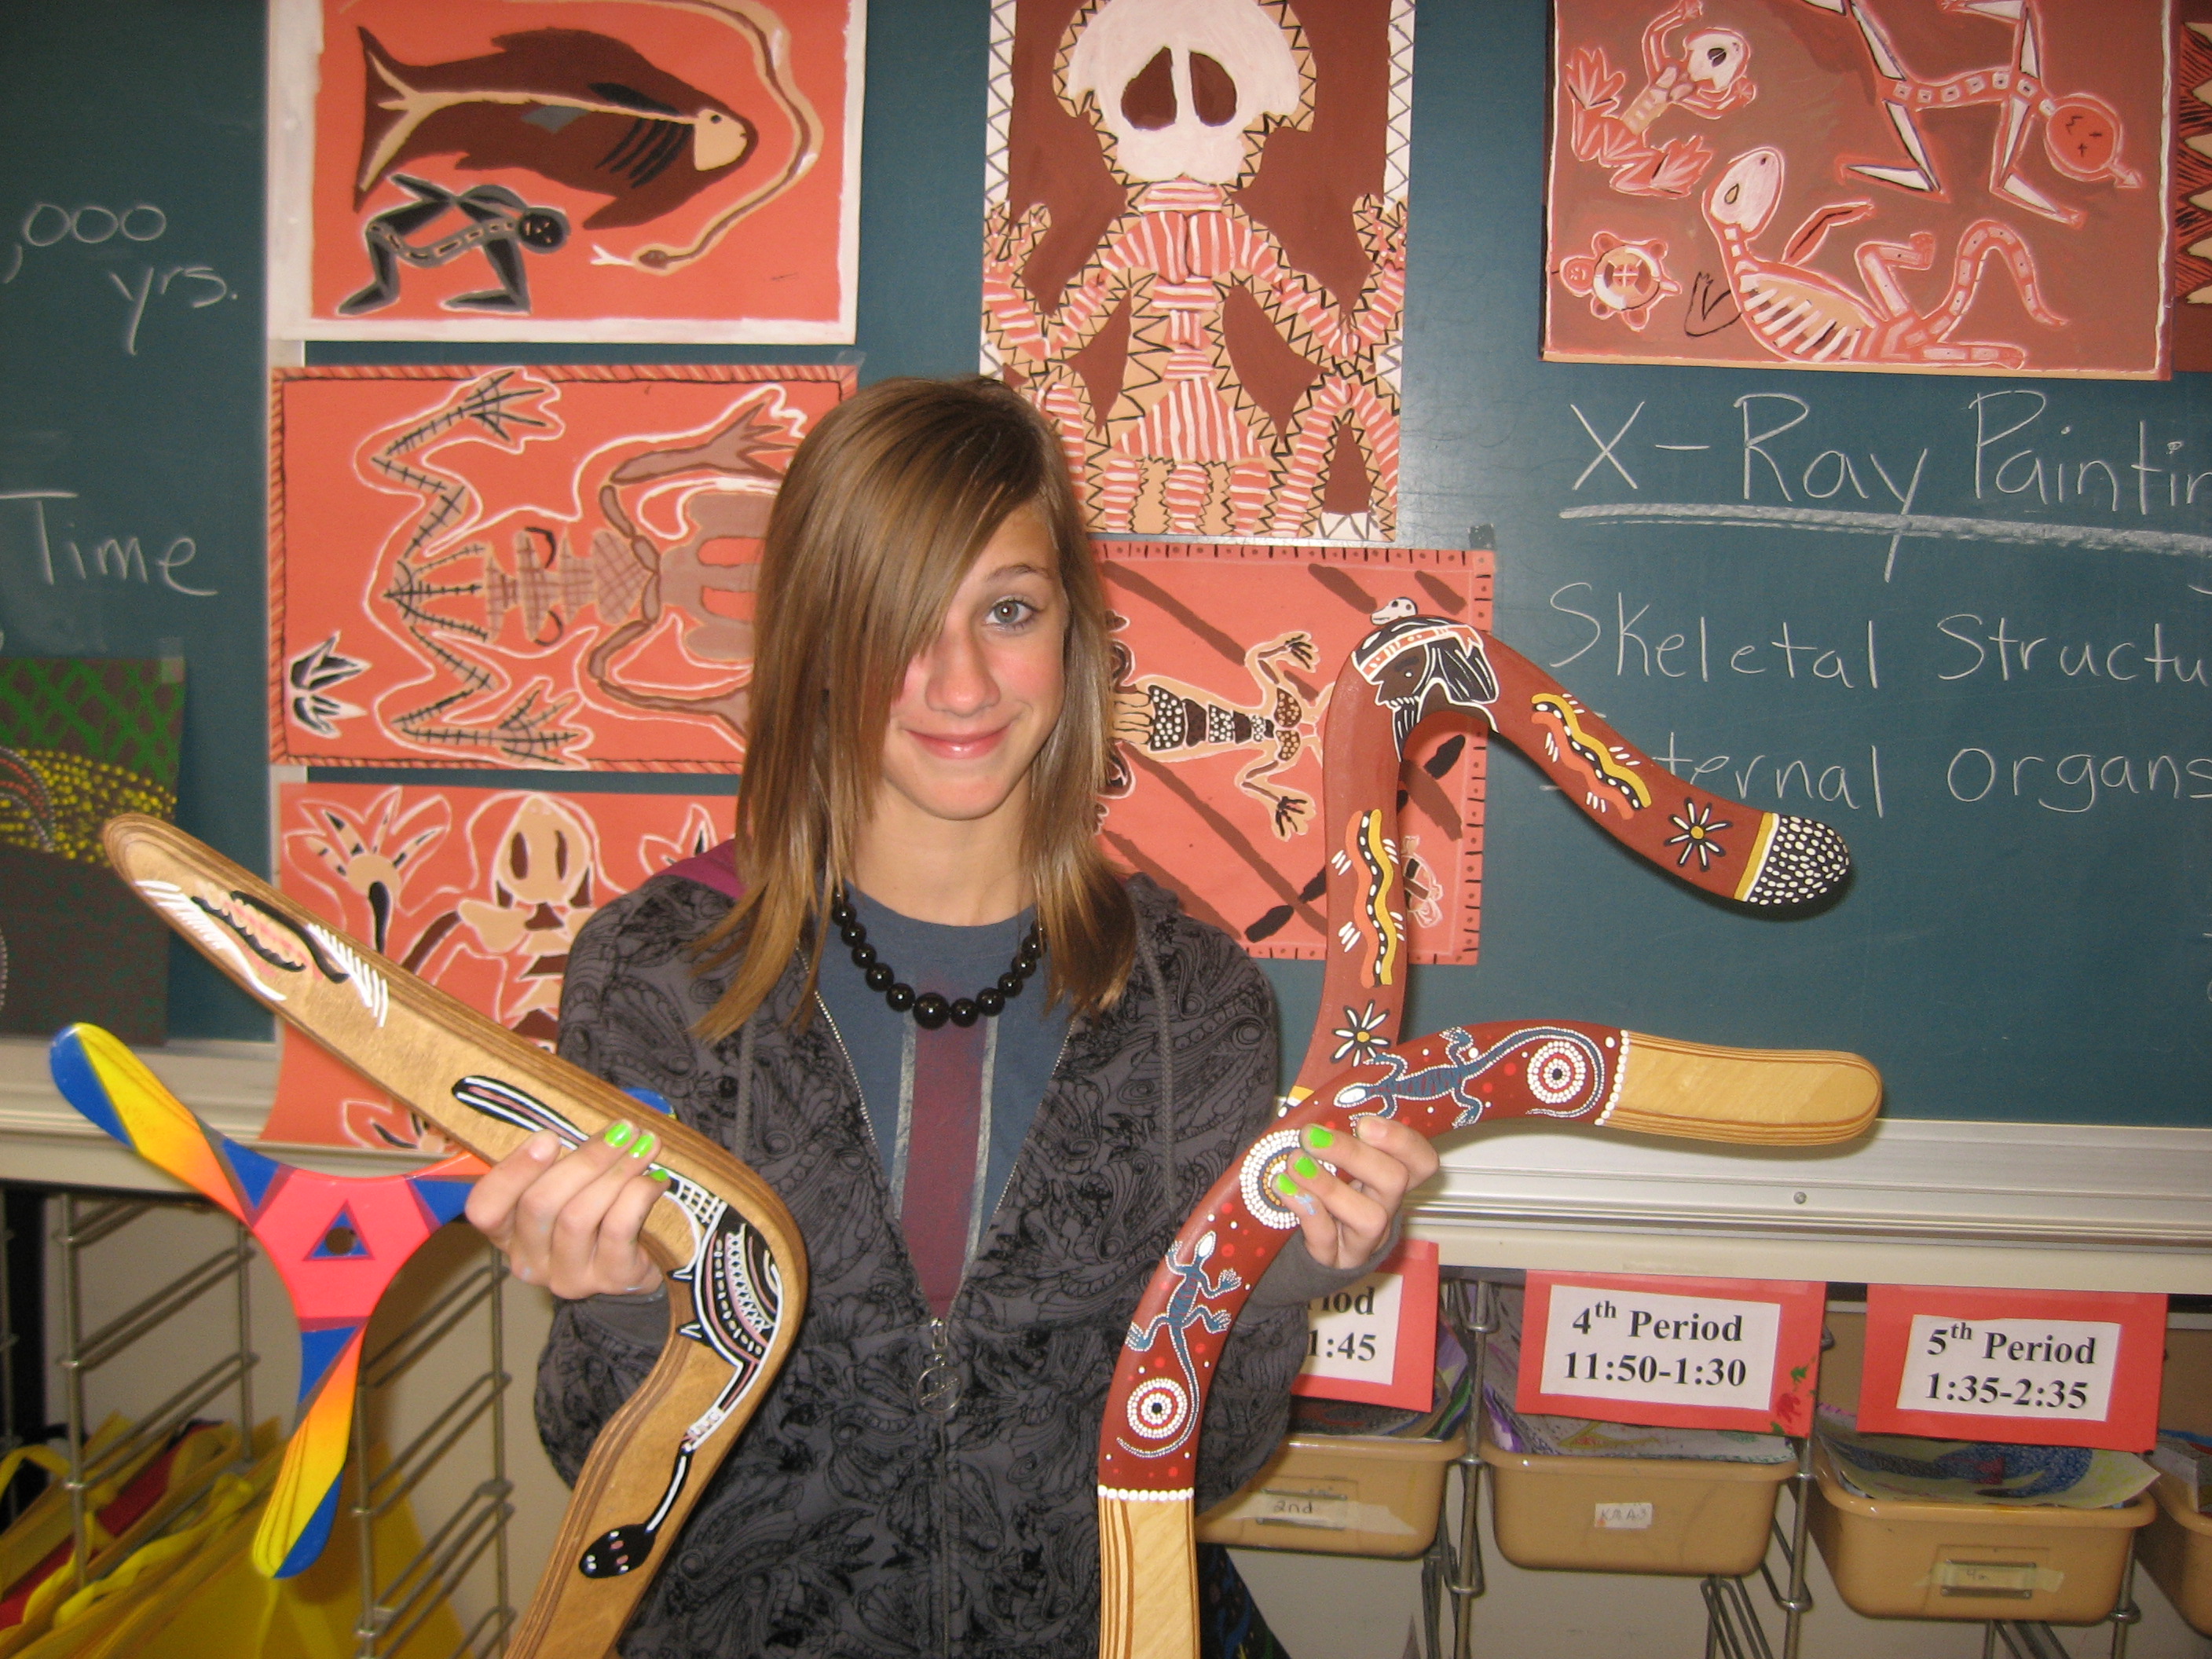
 Holly’s 7th grade Art class had a discussion on Aboriginal art and Holly mentioned that her family happened to have “a few boomerangs”. The teacher wanted to see some, so the next day, Holly took a few to school. With all the questions of “Do they really come back?”, the whole class soon ended up out on the football field with Holly giving an impromptu demonstration. Luckily, she had also taken a lightweight Carlotta to show how more “modern” paintjobs contrast to the Aboriginal. So she had something easy to throw to start with. After she threw and caught the Carlotta, the teacher and other kids wanted to see one of the bigger boomerangs in action. Though Holly had never thrown anything so large, she made a go of it and got some good returns. The class was very impressed and now know that yes, they really do come back. The teacher sent me this photo of Holly holding some boomerangs in front of some of the class’s aboriginal art.
Author: bruce
-
Holly Shows Boomerangs in Art Class
-
Holly Makes the A-Team!
 Holly felt good about her chances all throughout Volleyball team tryouts, and just watching her play around with the ball (and actually doing some bumping and setting with her) I felt good about her chances too. I’ve got to admit though, that I was a little worried about how she would take it if she turned out not to make the team. It turns out no worrying was needed. She made the A-Team! Some of her close friends (Taylor, Lulu, Amanda, Kelsey, Karolyn) also made the team, so this ought to be a fun season.

-
Volleyball Camp for Holly

 Holly decided she wants to play volleyball at school, so we signed her up for a volleyball camp (actually a “day camp”) to see if she really liked it. She does. Her and her friend Taylor attended the camp and had tons of fun and learned tons of stuff. We’ll see if this pays off when team tryouts come around after school starts.
 -
My First YouTube Video
Some guys on the Boomerang Talk Yahoo Group were talking about lighted boomerangs and I shared with them a sparkler boomerang video I had made a few years ago. I realized that I had never posted a video on YouTube and decided this would be a perfect way to start. Here it is:
-
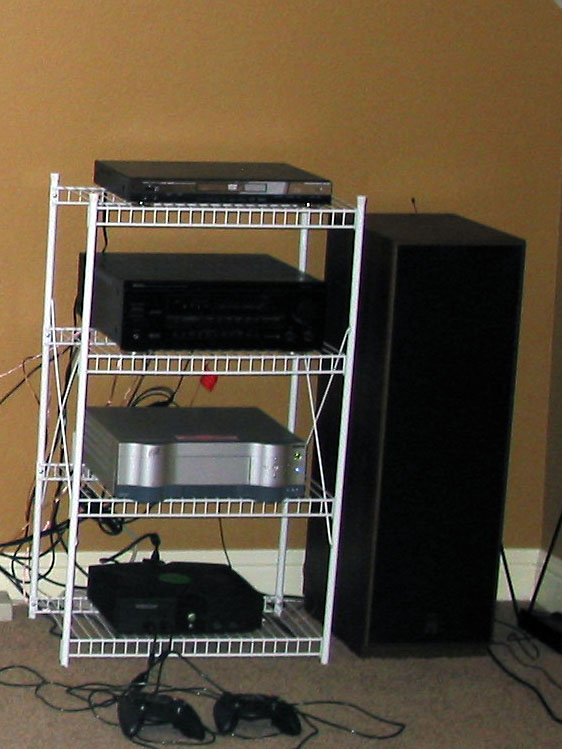
New D-I-Y A/V Component Rack
 For quite some time, I’ve been wanting to build a new rack for my A/V components in the home theater. I’ve got a three-year-old photo that claims that the white wire laundry shelf I was using was “very temporary”.
After years of waiting for the proper inspiration to hit (read: “procrastination”), it finally did hit in the form of the “Flexy Rack”. I’m surprised it took me so long to come across this style of home-made racks, because once I knew what to look for, it turns out they’re super-popular. A Google search on “flexy rack” reveals that there are thousands of web pages about them. The original seems to be The TNT FleXy Table. Please note that “flexy” doesn’t mean that it twists or sways from side to side, but that the design is flexible in that it’s easy to change shelf spacing.
 Once I decided on this style, I started by drawing up simple diagrams on graph paper to make sure my equipment would fit. Next, I used a 2D drawing program to refine my dimensions further. Then I discovered Google’s free 3D drawing program “Sketchup“. It was fairly easy to learn, and soon I had created a design I liked. (Soon is a relative term. The reality is that I might have spent more time creating the 3D drawing than I spent on actual construction. If there’s any interest, I can post the Sketchup file.)
 At this point, I was ready to purchase materials. I elected to go with MDF panels because MDF is cheap, sturdy, and easy to work with. I went with 5/8″ all-thread rods. My length choices were either 3-foot or 6-foot. I wanted 4-foot. Instead of cutting 6-footers to size, I went with 3-footers and 1-footers, held together by couplers and extra nuts to lock them in place. I thought this extra hardware actually added to the overall “industrial” look. I originally bought casters that were too small, eventually returning them and getting a set of 2″ swivel casters. The full parts and price list appears below. Bottom line: I built this nice solid rack for under $150.
Now it was time to cut the MDF panels to the correct shelf sizes. I don’t have a table saw, but I have a decent saw guide that I bought for my still-on-hold arcade cabinet project. I got good straight cuts that were easy to round over with the router. I used clamps and a wood-boring bit for drilling the holes.


It had been raining for several days and was extremely humid when I was ready to paint the shelves, so I ended up painting in the dining room over a plastic tarp. I used one coat of Kilz primer, and two coats of black semi-gloss paint. Michelle complained of headaches from the fumes, and they were bad: At one point I couldn’t remember my A-B-C’s.


After the paint dried, I used a counter-sink bit to drill the holes for installing the swivel casters. (Man I wish I had drilled these holes before painting!) Once this was complete, I was ready to start putting it all together. I don’t know how many revolutions it required to spin all 56 hex nuts into the correct positions on the all-thread rods, but my fingers sure got a workout. The pattern of nut-washer-shelf-washer-nut became second-nature after a while.


After leveling all the shelves (with a couple of nut-turns: this shelf is flexible, Man!), and tightening everything down, it was time to install the A/V equipment and call this project done. Here’s a comparison of the Sketchup rendering and the real deal, and a comparison of the old wire rack and the newly completed and populated flexy-rack.


Funny that I just noticed that every piece of equipment except the Dish 921 PVR has been updated since the wire-rack photo was taken.
Things I would have done differently:
- Used a drill press to line up all holes perfectly. During final assembly, it became evident that my hand drilling had resulted in holes that were at a slight angle. This made it difficult to line up the top two shelves with the rods.
- Skipped the primer or tinted it dark. Any chip of the black paint results in the white primer showing through.
- Drilled the counter-sink holes before painting. Doing this after painting meant that it was harder to do a clean job, and then I had to touch it up afterwards.
Full parts list (from Home Depot, Lowes, Ace Hardware):
Count Item Cost 2 3/4″ x 24″ x 49″ MDF Panels $17.78 4 5/8″ by 3 foot All-Thread Rod $27.76 4 5/8″ by 1 foot All-Thread Rod $9.12 4 5/8″ Coupling Nut $11.48 50 Hex Nuts $12.50 6 More Hex Nuts $1.50 50 Flat Washers $13.00 1 Quart of Kilz Primer $5.48 1 Quart of Black Semi-gloss $7.87 4 2″ Swivel Casters $10.00 16 Machine Head Bolts $2.56 16 Nuts $2.72 16 Lock Washers $2.40 Tax $9.74 Total $133.91 -
Outdoor Movie Night
Last night, the neighborhood got together for the first ever Skinner Road Outdoor Movie Night. My across-the-street neighbors had been helping their boys build an elevated fort, so we already had a 10-foot tall platform to hang a screen from. Another neighbor’s dad works in a fabric facility and was able to rig us up a 16-foot wide screen for cheap. We mounted my projector on a raised tractor bucket and set 2 of my old huge “college days” speakers up in front, and another neighbor’s speakers behind us for surround sound (no subwoofer, no center channel). I still hadn’t installed my old Denon A/V receiver downstairs, so it was available for amplification duties. A small DVD player completed the setup.
We had a real good turnout, though some might not have thought too highly of our movie choices: Dumb & Dumber, and The Waterboy. Unfortunately, I didn’t think of getting photos of the setup until after it was already dark, and what I did get all turned out terrible.
The crowd had a great time, and we agreed that we’ll do it again when the weather cools off.
-
LD in Big D
 Ace and I, along with my nephew Cameron attended the inaugural LD in Big D boomerang tournament. This was a Long Distance competition that took place at Eastfield College in Mesquite. The three of us performed below our expectations, but several of the competitors got over 100 meters. The top three finishers were Tom Wythes with 130 meters, Stu Jones with 113 meters, and Joe Rader and David Hirsch tying with 112 meters.
 Ace was the family champion (2nd place in Intermediate), beating Cameron and I with his toss of 79 meters. This was 10-meter improvement on his personal best set in Houston in 2004 when he was also about 10 inches shorter.
It was blazing hot, and we went through water and Gatorade like crazy. One gentleman collapsed from the heat well before noon (he was fine after cooling down in the shade and being checked out by paramedics), and it only got hotter from there. Unfortunately, prior engagements kept us for coming back for Day 2, so we only got two rounds of throwing in, and I felt terrible about not being able to help the guys out on Sunday. The good news is that they were able to round up enough people to range-spot and line-judge, so they were able to get another official round in on Sunday, even though the 3 of us couldn’t make it back.
 It was definitely a fun outing, and even though LD isn’t my strong suit, it sure whet my appetite for trying to beat my personal best at some point in the near future.
See my small photo gallery here, and here’s a link to the Dallas Morning News’ pre-tournment write-up.
-
The Strikers Go Undefeated
 At the beginning of this soccer season, Coach Shan told the team that this would be the last time he coached. The team complained strongly, begging him to come back again. He thought he was in the clear when he told them he would agree to come back only if they went undefeated this season. So of course they did it!
This was the Waxahachie YMCA U13 Coed Soccer league. Last season was also a coed league, but our girls were a strong enough team to compete against teams of both boys and girls. This season, we brought in 4 brothers to make up an 11-a-side team. This included one of the girls’ twin, and her other, younger set of identical twin brothers. This was also our first league on a full-size field, so running was strongly stressed in the twice-weekly practices.
 Holly continued to improve and scored some goals on offense, but it became evident that she was most valuable to the team on defense. Her and the other tenacious defenders were sometimes so effective that they gave our goalie a half where she never even needed to touch the ball.
The end-of-season party was at Pizza Hut where trophies and team photos were handed out, and where Coach Shan assured the team that he would be true to his word and coach them again in this Fall’s U14 league.


-
A Rare April Snow
-
Spring Flood
 Soon after I completed Phase 1 of the Dry Creek Bed, we got an incredible amount of rain incredibly quickly. I saw reports of between 6 and 8 inches in just a few hours.
Water was filling all the ditches, rushing over the road, and washing my carefully placed river rock down to the very back of my property. Scariest of all is that the front yard was so flooded, that water rose onto our porch, coming right up to the front door threshold.
So not only do I have to do a lot of reworking of the creek, but I now plan to do some excavating to make the front yard drain better, to avoid the possibility of the house getting flooded if we ever have huge torrents of rain like that again.